(TIPI) TI99/4a to Raspberry Pi
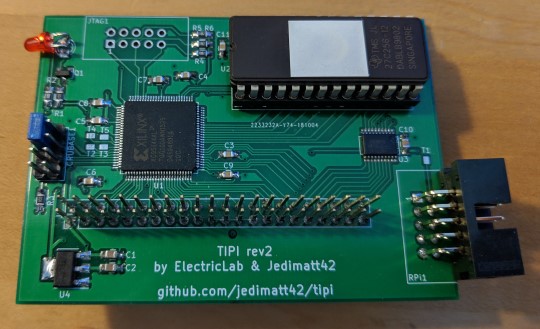
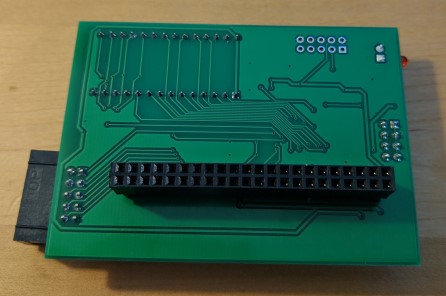
An order that I placed with ArcadeShopper arrived. The item that I’m most excited about is the TIPI-Sidecar. This provides an interface between the TI99/4a and the Raspberry Pi. The basic features it provides are:
- Memory mapped I/O to Raspberry PI for tinkering
- A disk based filesystem that the TI can access, hosted on the PI.
- Network abstractions (TCP/UDP/HTTP) to the TI.
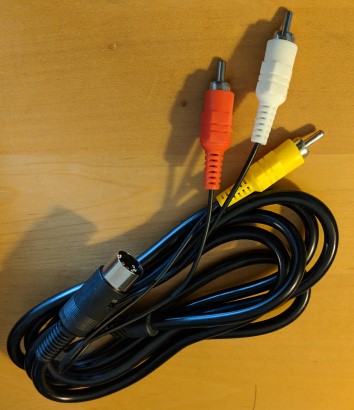
NTSC composite video cable
Before I get to far with the TIPI, I want to mention one other item that arrived … a NTSC composite video cable.
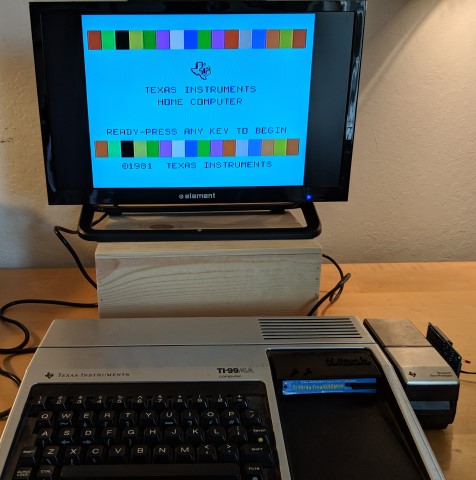
This allowed me to switch out the old Quasar TV, for a flat, lightweight monitor. This makes the setup more portable. Also now I can see the text at the edge of the screen. Previously half of the first character on a line would be cut off.
TIPI Sideport Installation
The tipi installation instructions are on the TIPI github wiki.
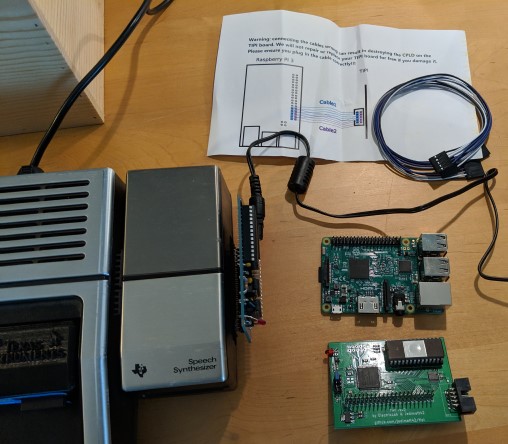
The TIPI kit arrived with
- 1x TIPI sideport adapter
- 2x 1x5 dupont style cable
- Printed wiring diagram
- Printed URLs for installation instructions
Items I need to supply:
- PRE-configured 8gb flash card for Raspberry PI. (Ordered as separate item).
- 32K sideport adapter (with header pins for expansion)
- External power supply for 32k board
- Raspberry PI 3
- External power supply for Raspberry PI
Determine CRUBASE
The first step is to set the CRUBASE jumper to be compatible with the target TI99/4a system. My jumper was set in a neutral position (across two gnd pins). So the crubase should be >1000.
I only have a Speech Synthesizer and 32K sideport adapter. So the recommended crubase setting is >1100 for maximum functionality..
There are 4 bits on the cru jumper block and these four bits determine the
2nd nibble in the crubase >1X00. It is unclear to me if the least significant bit
is at the top of the header or the bottom.
The schematics
show CRUB_0 at the top of the header and CRUB_3 at the bottom. In TI99/4a land
usually the index 0 is the most significant bit, so it would make sense that CRUB_3
would be the least significant bit.
The wiki site says that to set
to >1100 the bottom cru jumper should be set, which agrees with the theory that CRUB_3
is the least significant bit. So I installed the bottom cru jumper.
Finishing Installation
- I followed the wiring diagram showed on the wiki installation page.
- Plugged the TIPI sidecar into the 32K sidecard.
- Plugged in the raspberry pi and let it power up.
First Use.
Turned on the TI99/4a and entered TI Basic.
There is a configuration tool called TIPI.TIPICFG which is an EA5 program image. I did not know what an EA5 program was, so I had to look it up. Basically it is a program which is a binary dump from the Editor/Assembler cartridge (option 5) with a small header.
To load this program from TI BASIC enter:
CALL TIPI
That will bring up the following screen:
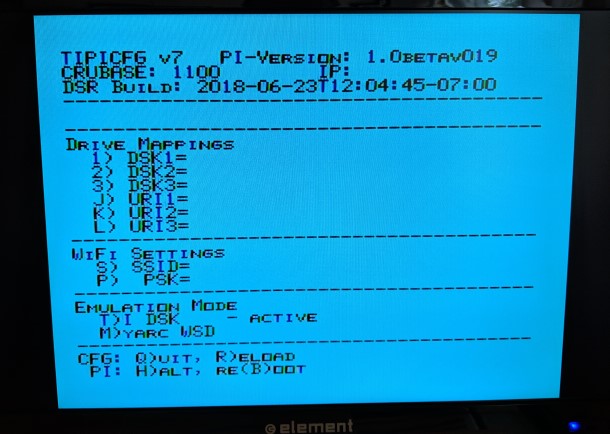
From this screen I setup the WiFI SSID and Password by pressing ‘S’ and then ‘P’. Then press ‘W’ to write the configuration and then the Raspberry PI reboots.
I really don’t understand how TI Basic knows about TIPI. My theory is that when TI Basic loads it scans the peripheral bus and builds this PAB chain. Some how the TIPI DSR registers the name “TIPI”. Here is a link to the source for the TIPI DSR code.
Running Telnet
So you can run a program stored on the TIPI Raspberry PI from TI Basic. An example of this is running telnet from TI Basic via the command
CALL TIPI("TIPI.NET.TELNET")
First you select how many columns to display. Choices are:
- 40 Column
- 80 Column
- 64 Column
I stuck to 40 Columns. For 80 Columns you need the F18A upgrade which I don’t have. I tried the 64 Column but the text is a little hard to read.
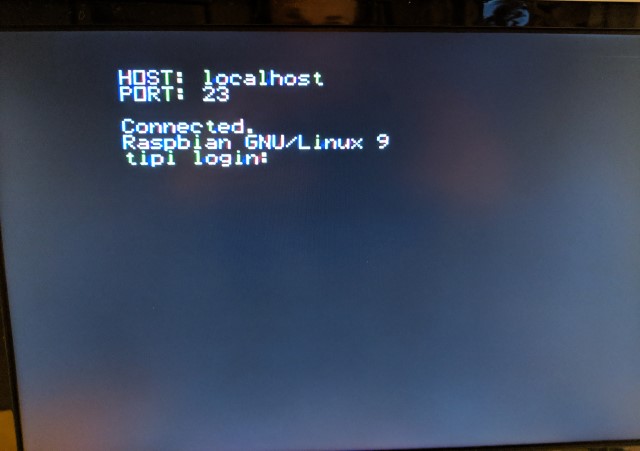
When logging in the default username and password are both “tipi”.
Here are a couple snapshots of the telnet session:
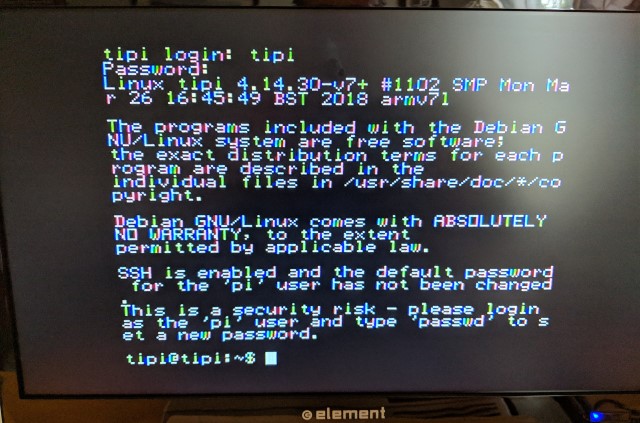
See the tipi-installation instructions on how to grow your sd-card partition at this point.
Once you login you are in the “tipi” users home directory, /home/tipi. In this directory there is a directory named “tipi_disk”. This directory you can place folders that you want to access as disks. For example I created a directory called “TurboForth122” and placed inside the “DSK1” and “DSK2” folders downloaded from turboforth.net.
Then you can use the TIPI.TIPICFG tool (described earlier) or modify the file /home/tipi/tipi.config to set:
DSK1_DIR=TurboForth122.DSK1
DSK2_DIR=TurboForth122.DSK2
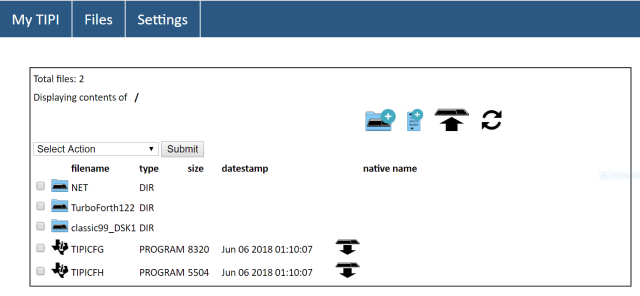
There are many ways to transfer these file to the TIPI Raspberry PI tipi_disk directory but probably one of the easiest is to use the web interface which is served up by the TIPI Raspberry PI. You can access the web interface by using your browser to go to http://tipi:9900. Of course this only works if the TIPI device is on the same local network. Here is a screenshot:
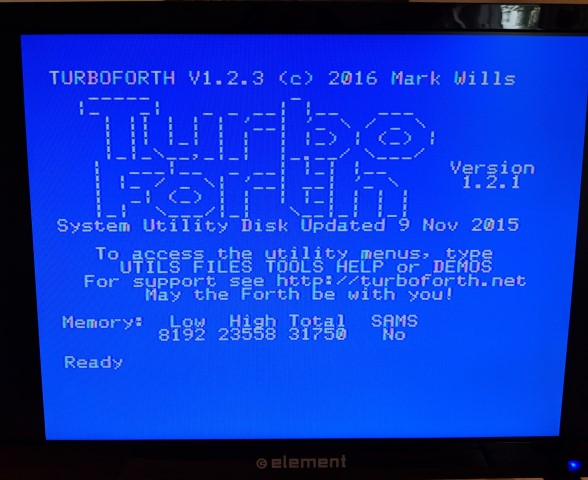
Lastly here is a screenshot of TurboForth running and able to access the boot disk and tools disk stored on the TIPI drive:
Additional Information
- TIPI development thread: Includes links to videos of TIPI in action.
- TIPI blog post on arcadeshopper:
In depth blog post that describes many features of TIPI that I did not mention.